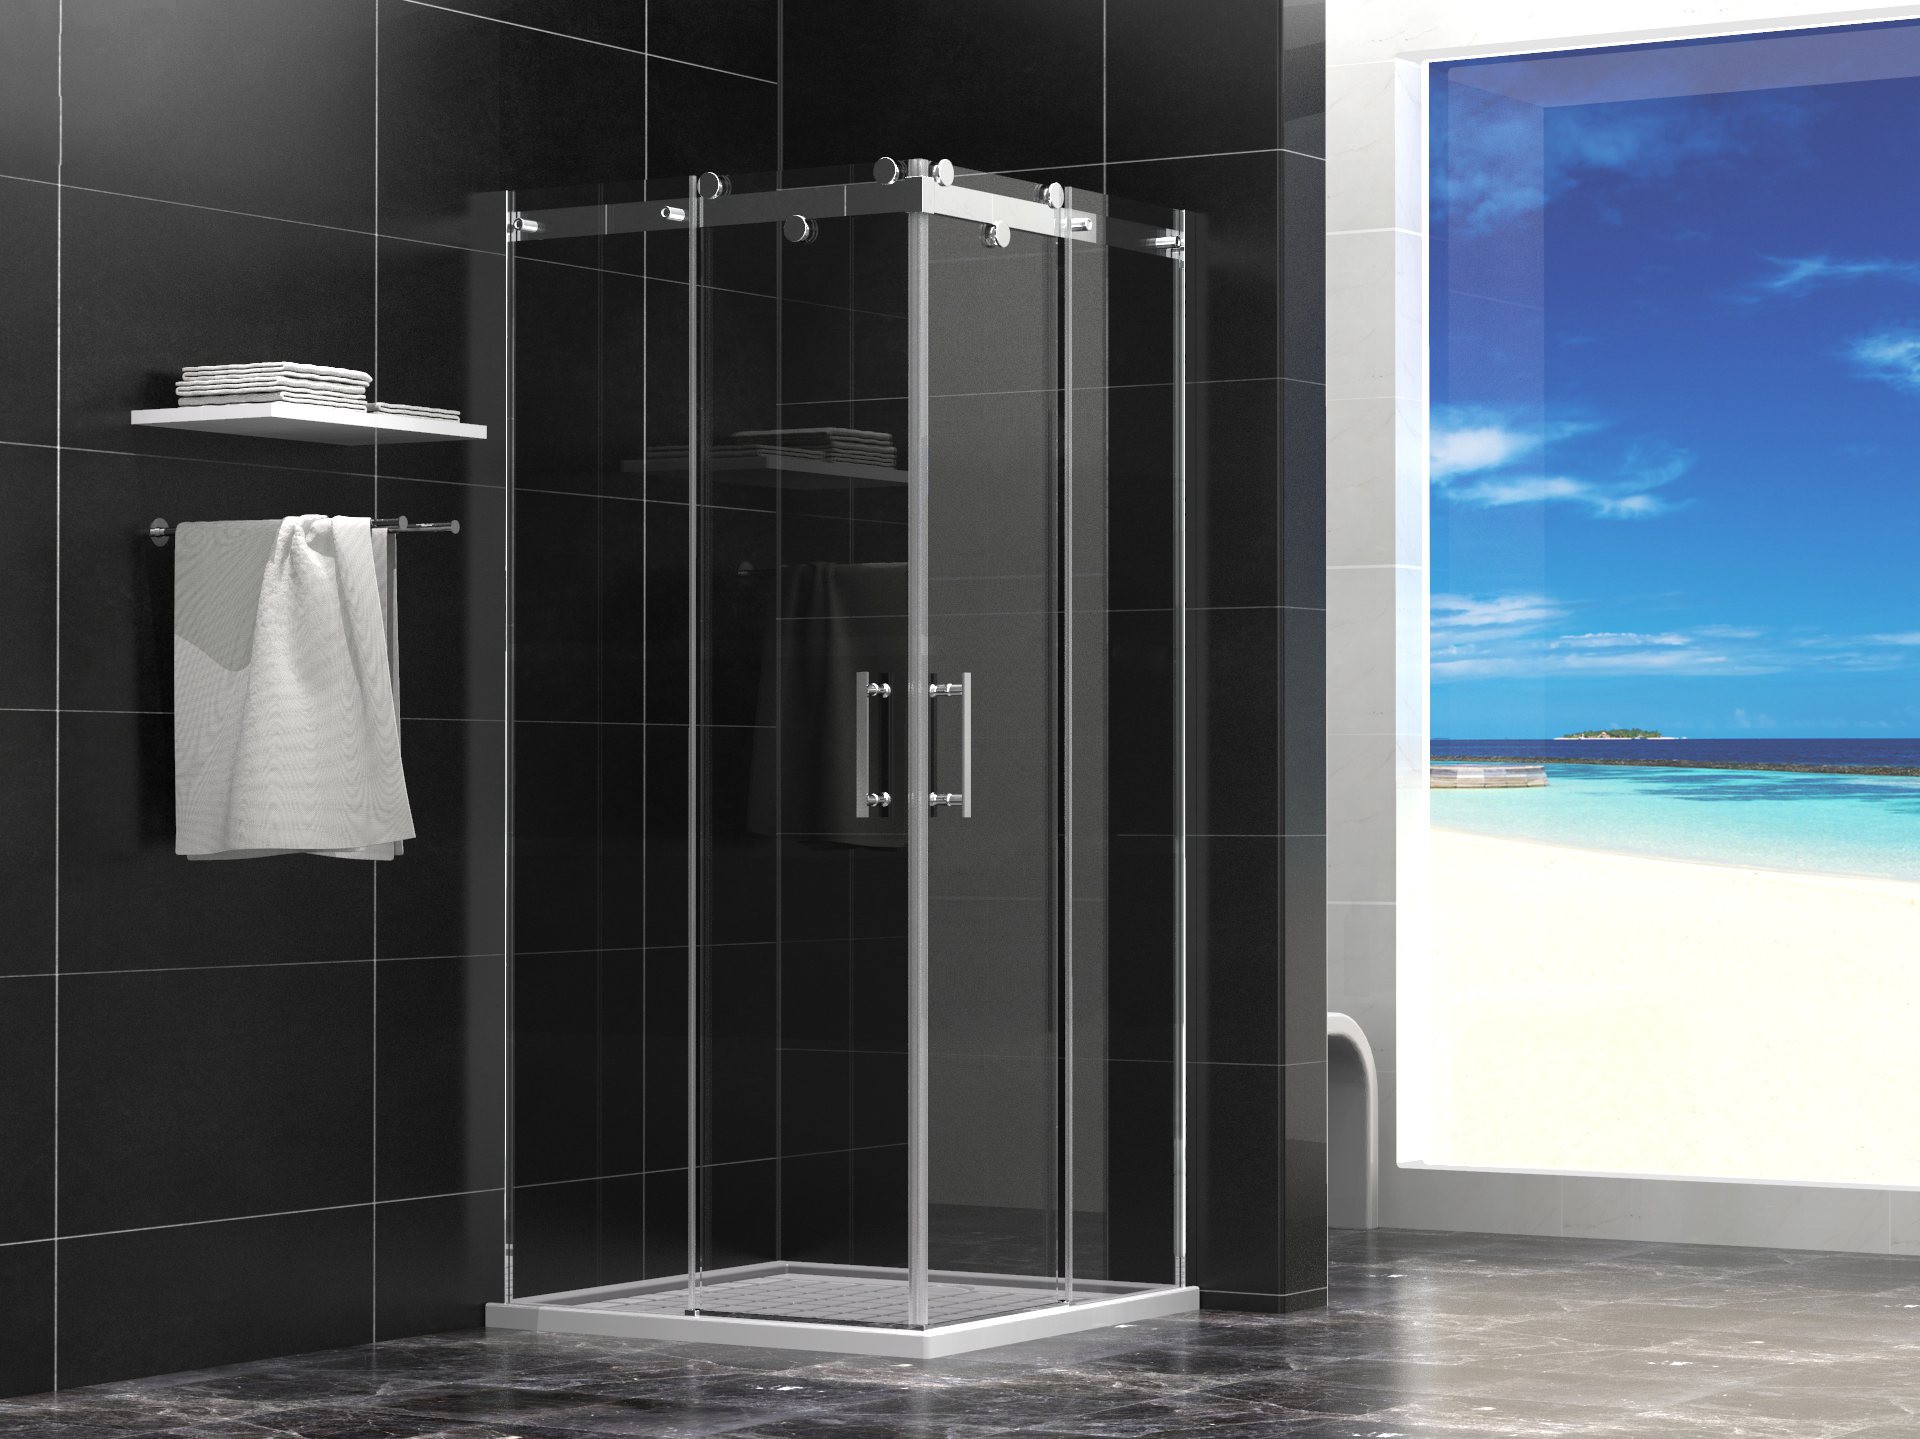
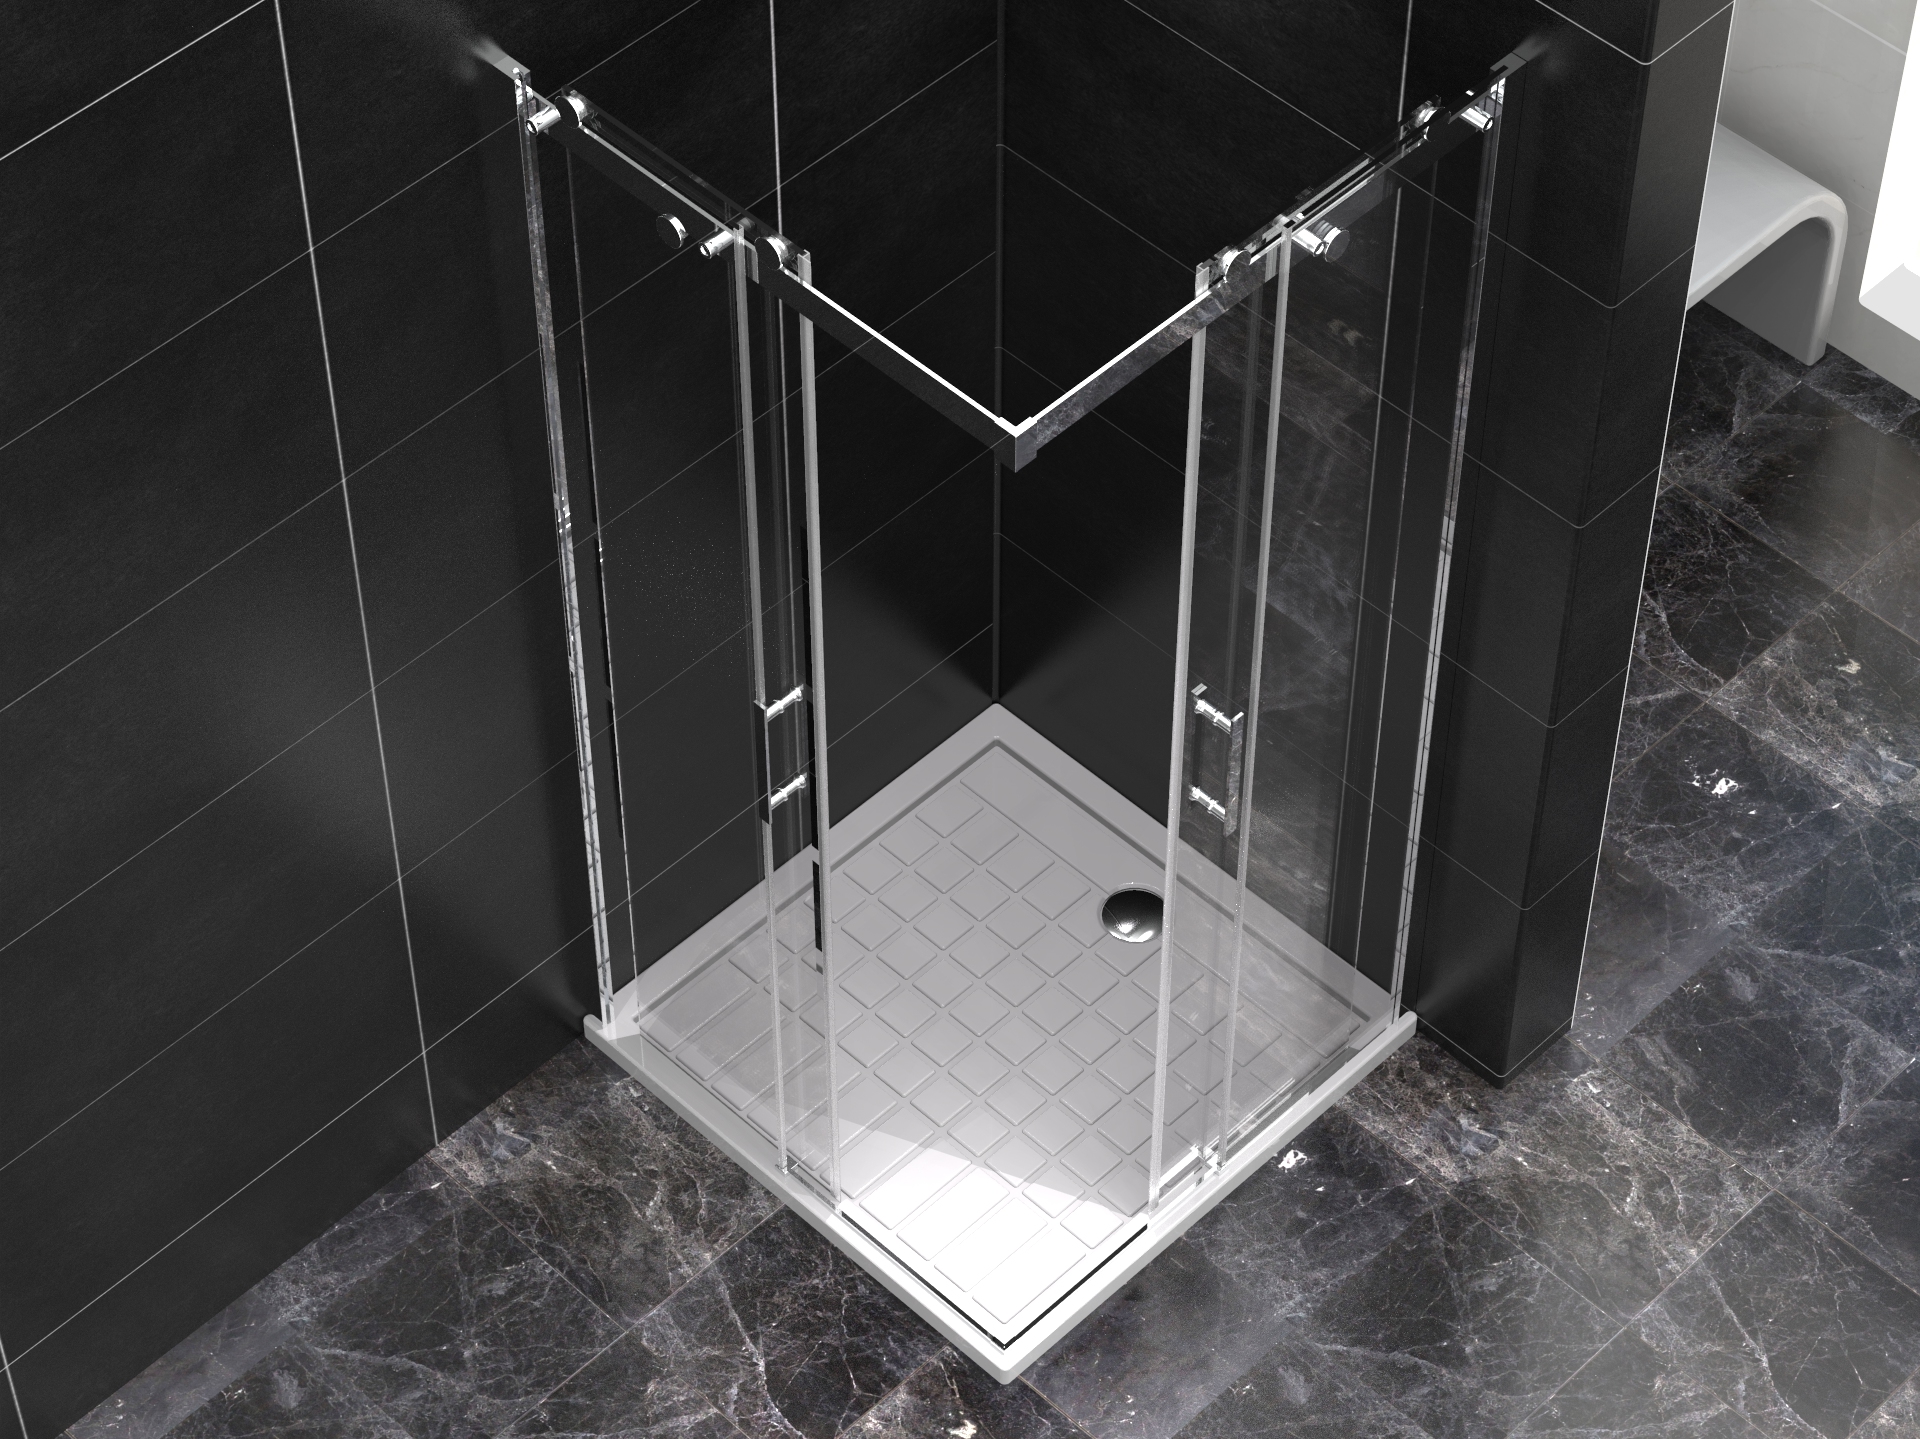
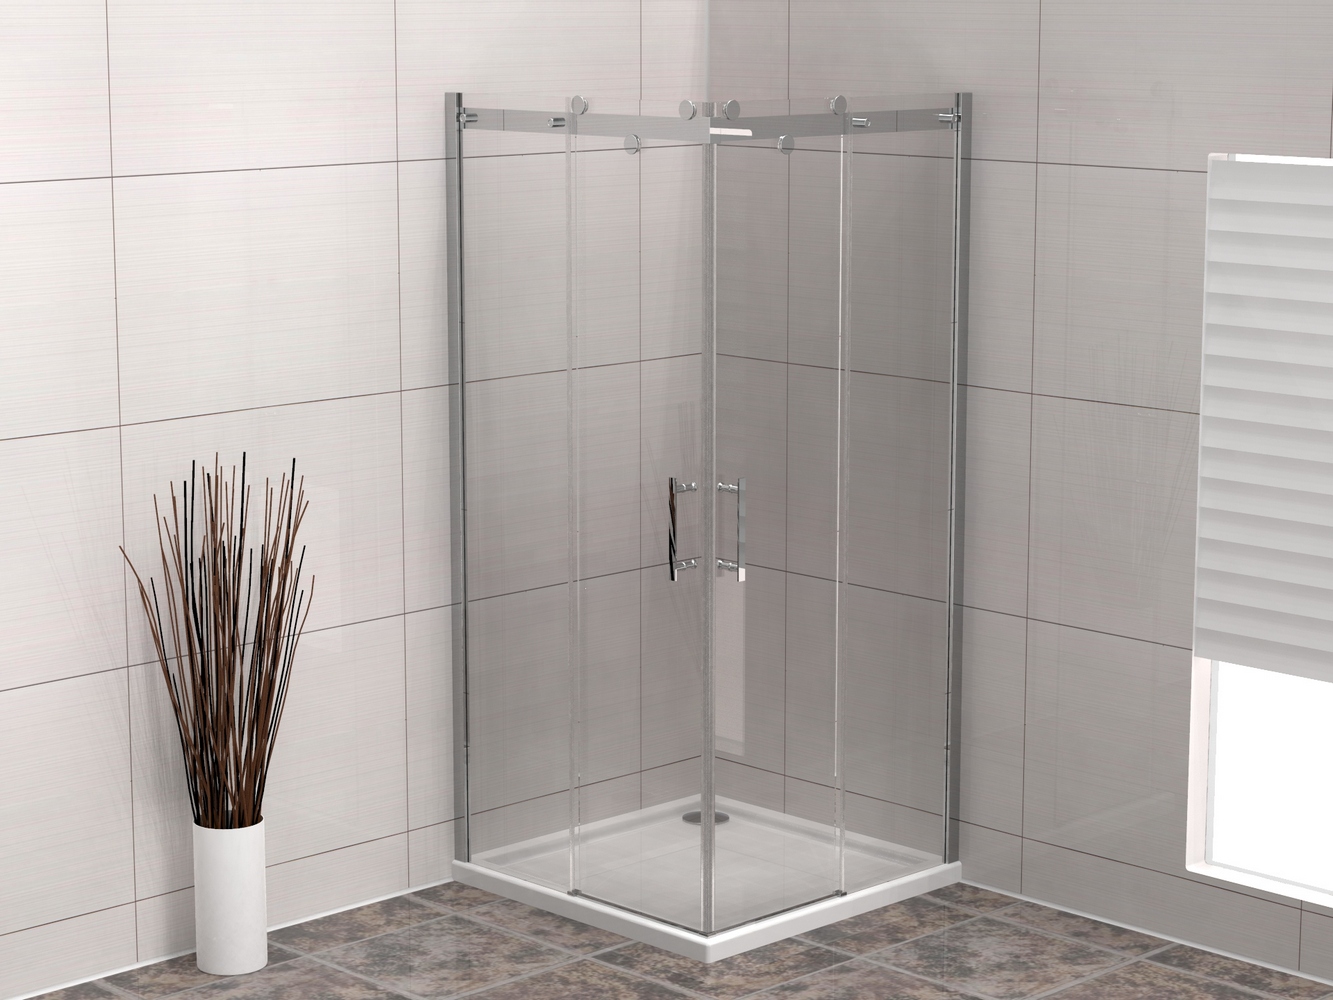
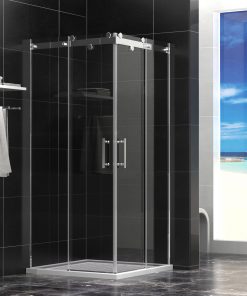
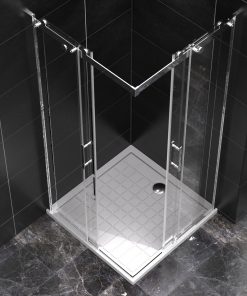
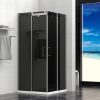
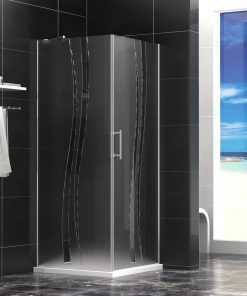
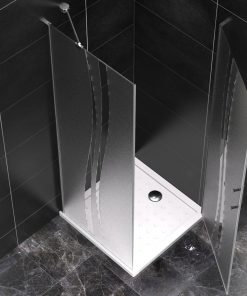
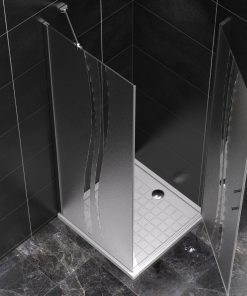
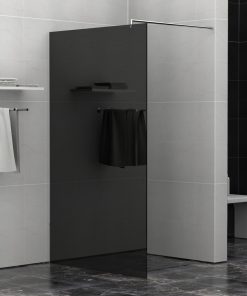
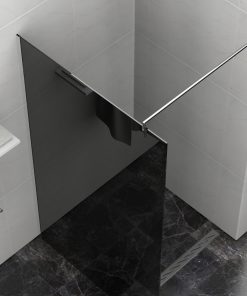
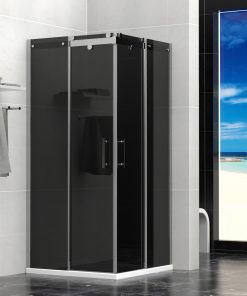
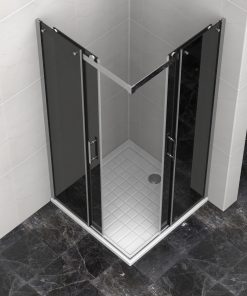
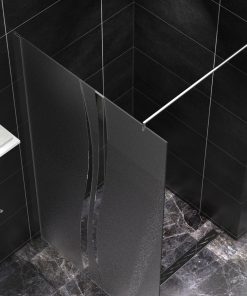
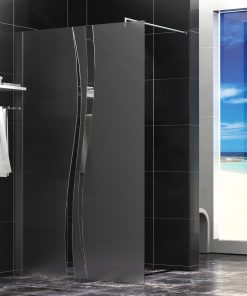
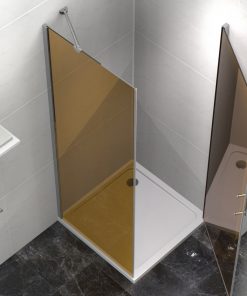
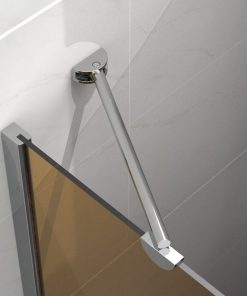
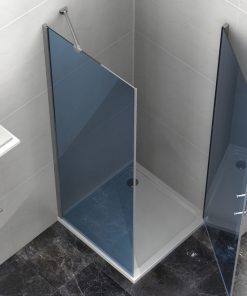
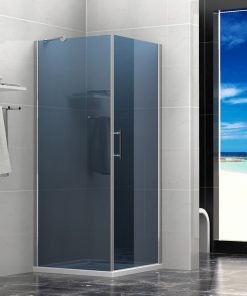
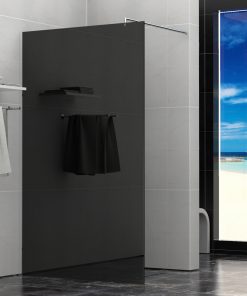
Shower enclosure 100x100x190 cm without shower tray 8 mm glass VENTA (Square)
343,90 €
incl. 19% VAT
Delivery time: Shipping time for Germany: approx. 10-14 working days
In stock
Modern shower enclosure VENTA 100×100 cm without shower tray
Thanks to the optimal installation options, the square shower enclosures are very popular. A VENTA 100×100 cm shower enclosure can be installed in any suitable corner without a shower tray. In addition, the clear glass gives your bathroom an oven-like and fresh appearance. In addition, the glass panels are made of 8 mm safety glass with the EasyClean coating. This surface coating easily repels water and dirt. The rubber seals effectively and safely prevent water from penetrating through the doors.
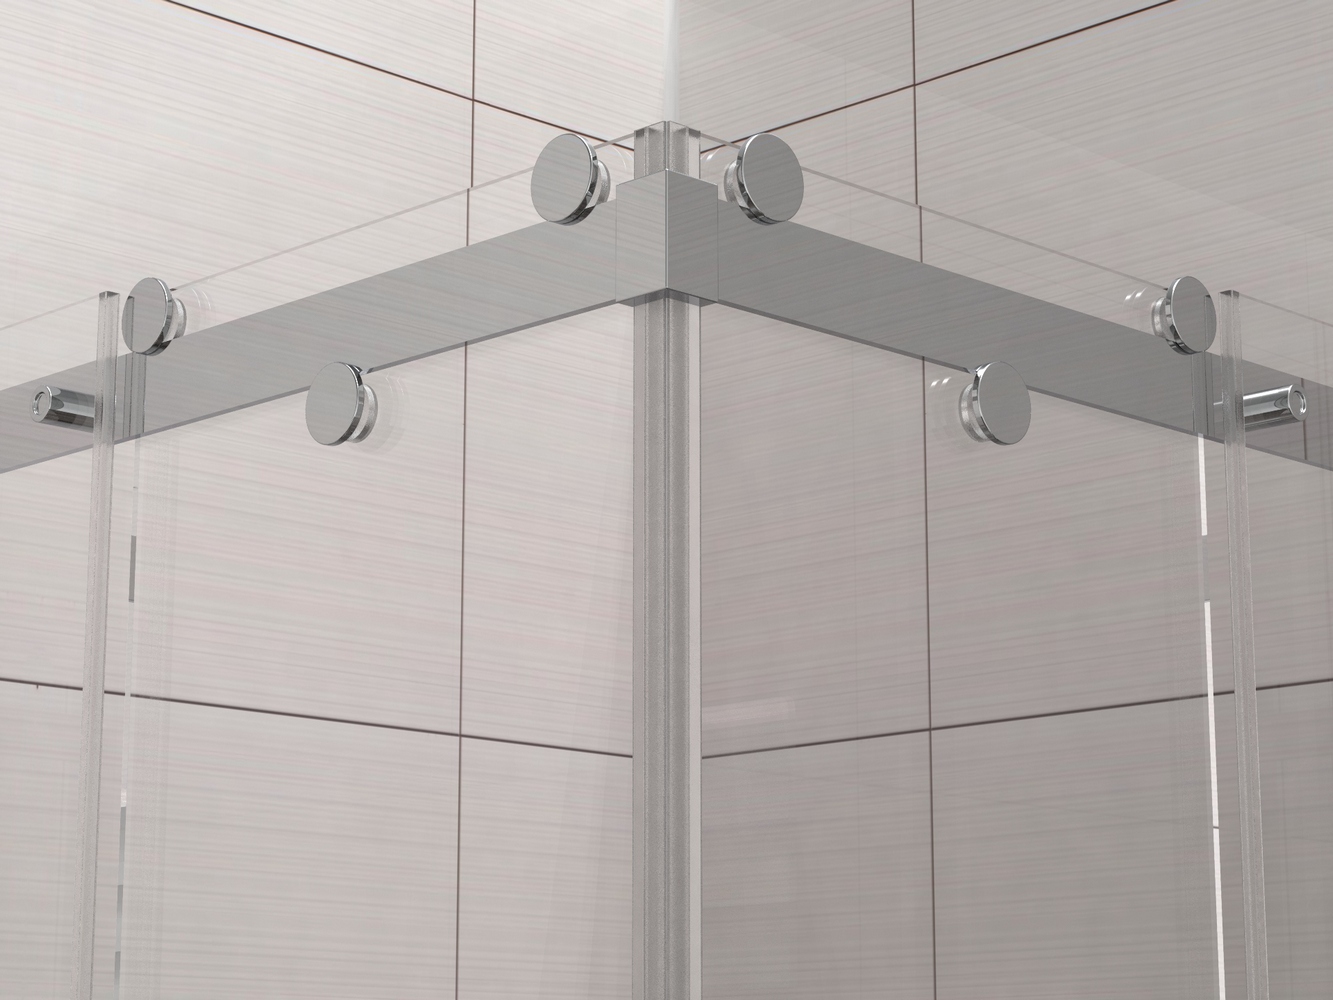
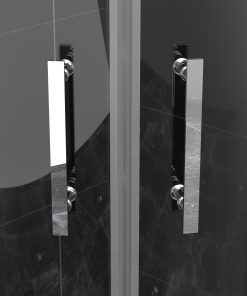
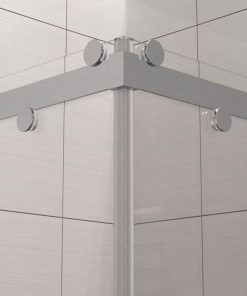
Another advantage for you is the integrated sliding door roller system with its high-quality double rollers, as this system allows you to open it smoothly and enter the shower comfortably. In addition, the sliding doors do not take up any extra space when opened. The associated door handles and hinges are made of rustproof chrome-plated stainless steel.
The shower enclosure can be combined either with a stylish shower channel flush with the floor or with a matching shower tray.
The shower enclosure can be installed easily and quickly, even without specialist knowledge. The shower can also be installed at floor level. The universal construction is suitable for both left- and right-hand installation. The complete installation accessories are included in the scope of delivery.
Features of the shower enclosure VENTA 100x100x190 cm without shower tray:
-
- Glass panes made of 8 mm safety glass (ESG)
- Easy-Clean surface coating
- up to 15 mm wall compensation
- 190 cm high
- Door handles and hinges made of stainless steel, chrome-plated
- Corner entry
- the sliding door roller system
- universal design: for left- or right-hand mounting
- Including complete mounting accessories
- Mounting on the floor level also possible
- High-quality aluminium profiles
Shower enclosure installation:
The installation of the corner shower enclosure can be done in a few hours. It all depends on your skills and the tools available. Those who decide to install a shower enclosure on their own, but who do not have their own experience in it, do not have to worry. This task can be solved even without expertise.
Step 1:
First you have to place the bracket profiles in the vertical position and check them with a spirit level. The distances must be measured very accurately so that the shower enclosure doors can close properly after installation. Mark the drilling positions and drill. Then you must insert the dowels and mount the aluminium profiles with the screws.
Step 2:
Insert the side panels of the shower enclosure into the bracket profiles. Then check the vertical position of the shower panels with the spirit level and fix them with the screws. For the models with a solid frame, place the frame parts on the side panels and holder profiles and fix them with the screws.
Step 3:
Attach the door hinges to the side walls of the shower enclosure. Then hang the hinged doors on the hinges and screw them tight. Insert the rubber seals with magnets on the doors and check that they close properly. If the doors drag or cannot close completely, fine-tune them.
Step 4:
Grout the edge areas of the shower enclosure to the walls and the shower tray with silicone. While pressing the lever of the squeeze gun, guide the tip of the cartridge evenly along the joint. Then smooth out the sealant with a joint smoother dipped in washing-up liquid. Silicone needs about 24 hours to harden completely. If possible, no water should get onto the joints during this period. When the silicone sealant is completely dry, you can start enjoying the shower immediately.
| Weight | 80 kg |
|---|---|
| Dimensions | 196 × 60 × 15 cm |
Related products
incl. 19% VAT
Delivery time: Shipping time for Germany: approx. 10-14 working days
incl. 19% VAT
Delivery time: Shipping time for Germany: approx. 10-14 working days
incl. 19% VAT
Delivery time: Shipping time for Germany: approx. 10-14 working days
Shower cubicles without a shower tray
Shower enclosure 80x80x190 cm without shower tray 8 mm glass VENTA NERO (Square)
incl. 19% VAT
Delivery time: Shipping time for Germany: approx. 10-14 working days
incl. 19% VAT
Delivery time: Shipping time for Germany: approx. 10-14 working days
incl. 19% VAT
incl. 19% VAT
Delivery time: Shipping time for Germany: approx. 10-14 working days
incl. 19% VAT
Delivery time: Shipping time for Germany: approx. 10-14 working days


 Deutsch
 Nederlands